Home assistant on a budget
Introduction
Ever since my wife and I moved in together, we kept saying that one day, when we'd finally own a house, we'd automate everything we could to save both time and money. Well, that day came sooner than expected: we just bought our place.
After a few evenings spent reading forums and Reddit threads, Home Assistant quickly revealed itself as exactly what we needed.
There was just one catch: self-hosting.
Self-hosting vs being cheap
I don't like spending more money than necessary to achieve something, so my first instinct was to dig through my pile of old hardware and see whether anything could run Home Assistant.
The official requirements seemed reasonable enough: 2 cores, 4 GB of RAM, and apparently the community agrees that's enough. Fair. That immediately ruled out the old Raspberry Pi 2 and the Pi Zero. We're not in 2010 anymore.
Then I remembered I already had a device running 24/7 at home: my ISP router, a Freebox Delta.
Turns out it supports containerization and, on paper, had the right specs to host Home Assistant.
Unfortunately, two problems showed up quickly:
- USB ports are annoying to access, may be unreliable, and only two. As I didn't make my choice, I was likely to require 3 USB ports, Zigbee, Bluetooth and maybe ZWave.
- I'd basically end up trapped in a forced marriage with Free, whose offers become significantly less attractive after the first year, aka 50€/month, non merci.
So the dream of "free hosting" died there. Free being excluded, how about cheap?
Windows 11, Baby diapers and Salvation Army
First round of requirements gathering, what do I need again? Well, 2 cores, 4 gigs of RAM, a dozen gigs of storage to start with, a low consumption (ideally under the 10 Watt range when blasting, and even lower when idle), a small enclosure, not getting burning hot, and ideally without a fan to stay quiet. Well I just described a SoC.
Also, after watching the current state of SoCs, I realized that I didn't need something new, indeed, SoCs from 2010-2015 were exactly matching my specs, and had 3 advantages in France:
- Commonly bought by boomer IT executives that saw the bargain in providing their employees working computers on cheap hardware.
- Never scaled to windows on the 2022+ updates, even less on windows 11, so quite abandoned in 2026.
- Using hardware incompatible with all the AI stuff from nowadays, such as DDR3 Sodimm and regular purpose CPUs that are very cheap.
After a bit of searching on Leboncoin, I found an old HP t520 that captured my interest. The warning in the listing was beautiful:
"The computer freezes indefinitely since I installed a recent version of Windows."
I needed someone selling a Windows-bricked thin client for peanuts. I found a dentist in Paris doing exactly that.
18€ later, here I am waiting for my t520 to come home.
Meanwhile I'm doing some googling. Parky towers's very cool blog answers the bunch of questions I had about scaling. On his blog, the t520 page says it has 4 gigs of RAM, but I could easily swap it for 8 GB if necessary, but on a single socket, so exit 2x4, it is 8 or nothing. However, it's DDR3L on Sodimm, which is a technology that isn't impacted at all by the current cost explosion on RAM so I could find one for the price of a baguette if I wanted.
Also, I'll have possibilities to swap the SATA for something bigger, or to plug a mPCIe drive. However, the HP proprietary hardware connector for mPCIe is a piece of history and hits 80+€ today on ebay so I'm not considering it for the moment.
To avoid reaching the RAM and memory hardware limitations, plus the CPU that I cannot change, I'll have to stay reasonable about a few things:
- Avoiding graph heavy dashboards to help the RAM
- Tweaking correctly logging to help the memory
- Avoiding AI and video heavy automations to relieve the CPU.
As part of the experiment, I'll keep the default settings. I want to watch them (or not) hit their limit with my future home automations.
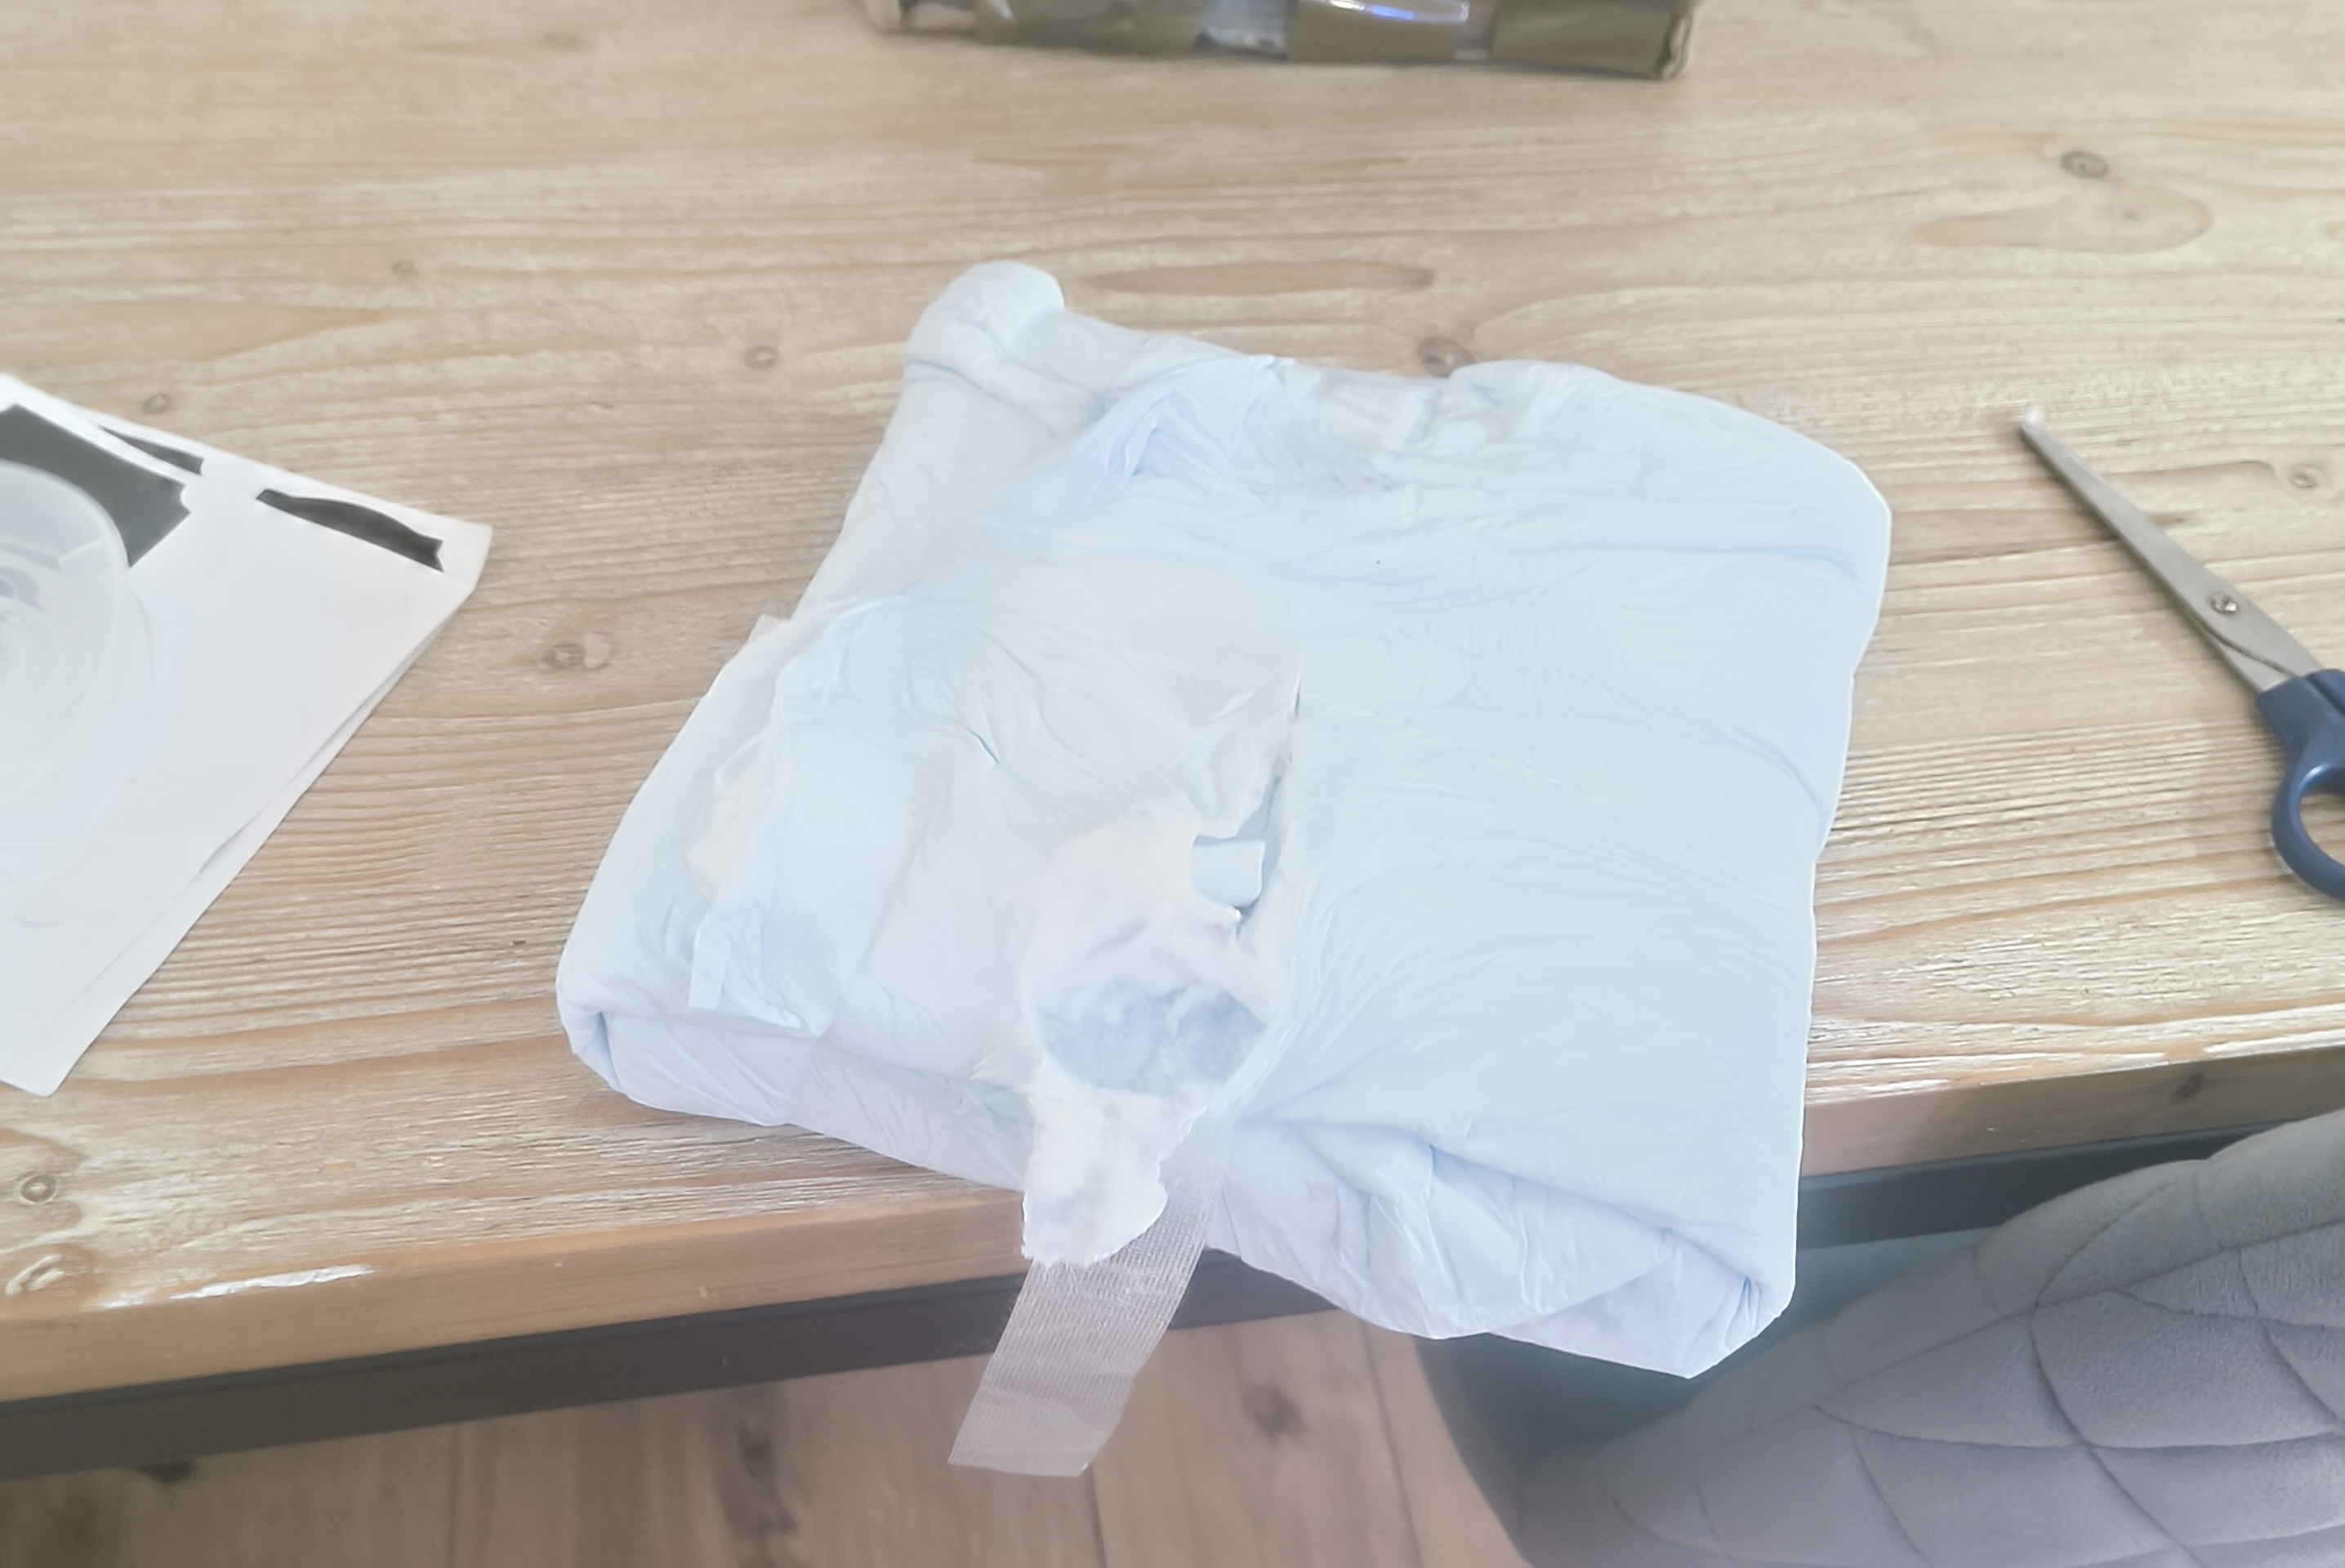
The t520 comes home a few days later, wrapped in baby diapers and an old tshirt from a local radio. At least the diapers were clean, you cannot know on Leboncoin. I can finally start looking for a charger.
HP made its old 7.4mm barrel connector that it replaced with a 4.5mm a few years ago so I had all my chances to find some on ebay or leboncoin as I needed the first one. All were quite expensive compared to the PC itself (around 15 ish euros) so I took my chance at Emmaüs, our equivalent to the salvation army.
Digging in a bunch of boxes, I found the required 65W (19,5V 3 A), and took a spare RJ45 that I was going to need with it. 3,50€ for the lot, an espresso on a terrace in Paris, bargain.
The HP t520, and other hardware curiosities
Here are several remarks that crossed my mind about the t520.
Interferences as a Service
The t520's processor, the AMD GX-212JC, has the excellent taste of clocking at 1.2 GHz exactly half the frequency of BLE and Zigbee. Indeed, 1200 * 2 = 2400 MHz, placing us precisely on a second harmonic. Imagine my BLE antenna singing its song at 2.4 GHz meanwhile, the processor is right next to it, singing the same note one octave lower.
If this were a Jacob Collier concert, it would be a masterpiece. Unfortunately, BLE receivers are not music connoisseurs. They prefer their signals pure, solo, and without unintended overtones. In RF, we don't call these unisons and tremolos "cool"; we call them interference and beating.
Of course, BLE isn't a single static frequency, see Adaptive Frequency Hopping, so it's not exactly how I tried to explain it. Furthermore, these internal frequencies aren't "perfect pitch"; crystals drift, and oscillators aren't tuned to the cent. Also, some of my USB ports are USB 3.0, which is also known to massacre the RF signal from Bluetooth dongles when directly plugged.
This combination of factors makes me think that I might have surprises very quickly. Because the CPU, the USB and the radio aren't synchronized, their frequencies will constantly "beat" against each other, sometimes reinforcing the signal, sometimes cancelling it out entirely.
Misc
Curiously, this hardware has no wifi chip. It's not a big deal but I was surprised, I completely assumed that I'd get one.
On the contrary, we have a VGA connector, an HDMI one, but also a DisplayPort 1.2 that I didn't expect at all on such a small hardware. It was hilarious setting the BIOS config on my 75" TV Screen in my living room, sitting on the ground.
I like when docs go as planned
The Home Assistant OS installation documentation is honestly flawless. Nothing to complain about, trying to rephrase it in my blog will make more noise than help, so here's the link if you want to read it.
Before installing Home Assistant, though, I booted the machine one last time into Windows just to witness the disaster for myself. Holy shit, indeed it's a brick with a Windows spinner on it.
Some remarks that weren't in the tutorial:
UEFI
I had to make sure that UEFI boot mode was enabled, turns out that the BIOS didn't mention it. The trick was to watch available partitions and read between the lines. If one was tagged as UEFI, then I could deduce that "if I can read the word UEFI somewhere somehow then it's enabled".
STOP TRANSLATING BIOS
The BIOS was in French and I spent an abnormal amount of time trying to figure out how "UEFI" and "SecureBoot" are supposed to be pronounced in my cherished native language, and an equal amount of time trying to switch the BIOS in English.
For the French Speakers, it's "Configuration d'Amorcage sécurisé" and "Interface Micrologicielle Extensible Unifiée", but holy crap that was maybe the steepest learning curve of that whole blogpost. Also if you happen to know the arcanas of setting a t520 bios in English from French, you have my mail.
USB keys, Ubuntu and Stargate SG1
I don't know how to flash a partition directly on a drive, so I went the USB flashstick way.
On a good ol' USB key branded with a tech company's logo, that I stole at a conference between tshirts, gourds and stickers, I started by flashing a Ubuntu 24.04 LTS version, I didn't care at all about the version as I only was going to need the Disk utility and a web browser.
Then, once booted on "Try Ubuntu" from the boot manager, I just had to follow the HAOS installation doc on x86_64, which is, let me repeat it, an excellent piece of doc.
The USB boot + the partition took a full Stargate SG-1 episode to finish, be patient.
Restarting the SOC started showing nice console logs, an HAOS logo and a lot of green ticks: party just started.
Monitoring poor decisions
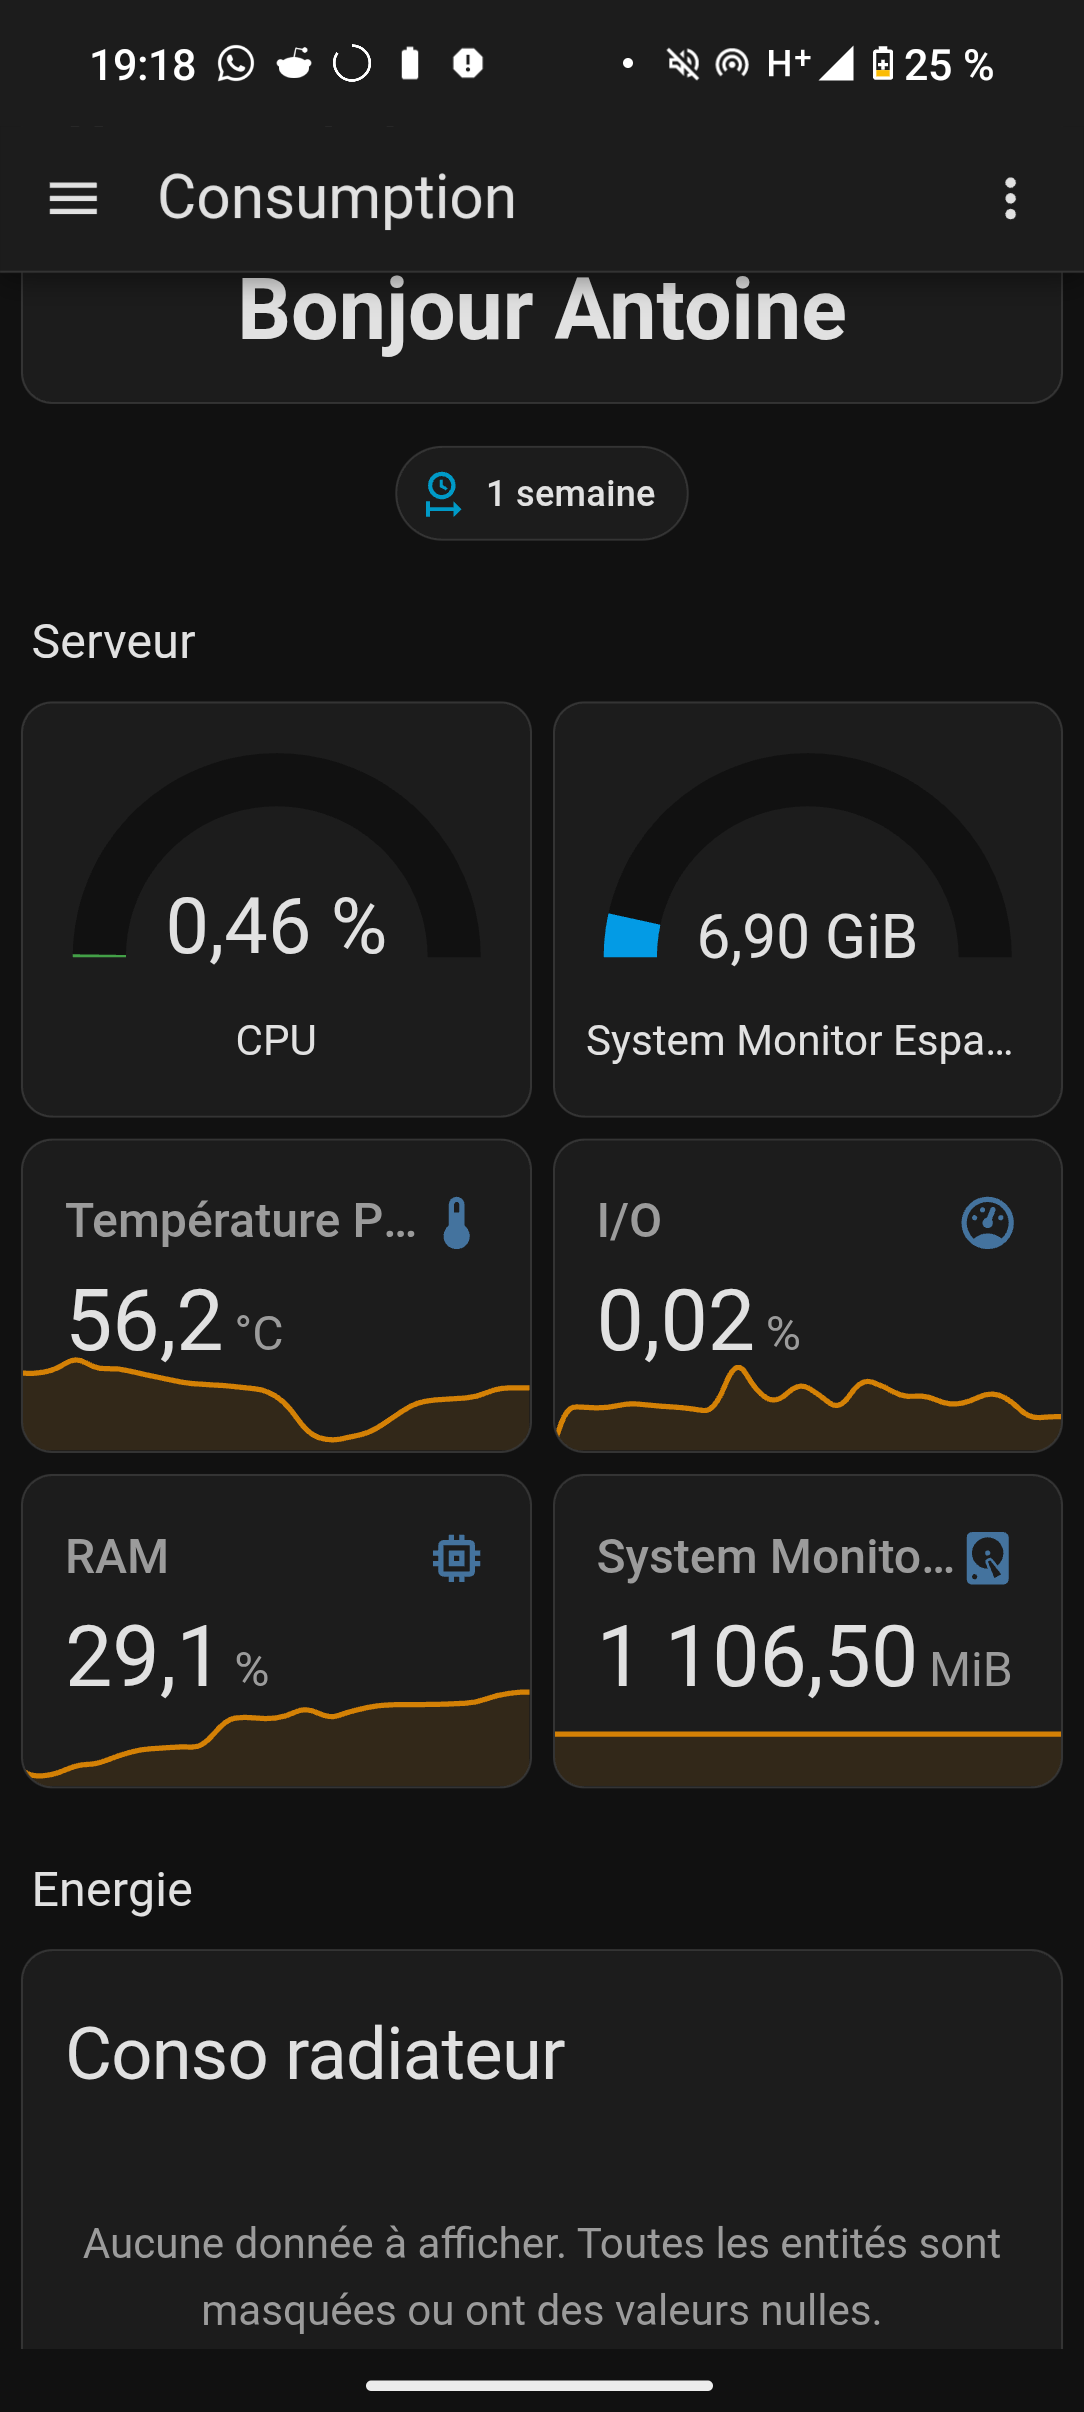
I've been cheap buying my HA server, it doesn't mean I want my home automation to suck. For that I wanted to have baked in telemetry, alerting, dashboards to evaluate how ambitious I was on my automations, or how well the t520 is doing its job.
Also, I'm a nerd, but not a jumbo nerd, so I didn't want to have a full Grafana dashboard in some homemade k8s cluster, I wanted things to be rock solid, fitting my need, and most importantly simple enough for my wife to ask "euh, Antoine, I got a HA notification, RAM is swapping, is it something good or not?".
It turns out that HA also created this, directly inside the HA ecosystem with the well named System Monitor integration.
The integration provides nearly a hundred metrics and entities about the Home Assistant server, but I only needed a few of them. For instance, only with memory, storage, last reboot time, swap, CPU usage, I/O and CPU temperature would I have the big picture. Also remember, the more I graph, the more I'll consume RAM and CPU, it's a matter of compromise.
Now let's bring this bad boy on the internet, and see if we could make it the 2026 way.
✨Cryptography ✨
Our current setup is not exposed on the internet. This means that my Home Assistant server is only exposed on http://homeassistant.local:8123, and failures to connect from my phone are nice reminders that I forgot to turn the wifi on.
Jokes aside, I work in cryptography, and I've wanted for a while to see how painful post-quantum deployment actually is outside of controlled environments, in real life, not in a company full of seasoned cryptographers and even spicier software engineers.
A self-hosted Home Assistant instance turns out to be a surprisingly good stress test: old hardware, consumer devices, reverse proxies, random mobile clients, flaky local networking, and software stacks that were definitely not designed with PQC in mind.
Make it work
Before summoning the quantum demons, I had to prove this €18 slab of plastic could handle a basic modern handshake. I started with the standard NGINX Home Assistant SSL app and the Let's Encrypt App. This was the "sanity check" phase. I needed to validate the boring stuff: Does Let's Encrypt play nice with my domain provider's DNS? Can the t520 handle basic TLS 1.3 overhead without the CPU fans (which don't exist) crying for help? Does the mobile app actually connect over the networking stack? Had to proceed into three phases.
First, ISP port forwarding. Free doesn't provide fixed IPv4, it provides shared ones, had to mess around with big custom ports, it's so sad.
Second step, DNS resolution, adding another A record, done, went well, good, I hate working with DNS.
Finally, the NGINX config. It's a three step dance with the Let's encrypt app, NGINX app and the Home Assistant itself.
First, Let's Encrypt HA core app supports DNS-01 certificate generation, so I just had to set GoDaddy in the App's yaml, make keys and secrets in GoDaddy, do the plumbing and start the app. A few seconds later I had the certchain and private key PEMs in my ssl folder (don't forget to turn the app on otherwise you'll lose some minutes trying to find nonexistent logs to debug an unstarted app, as I of course did).
Then NGINX, pretty simple. Listen to 443, set your domain name up and don't touch anything else. Do not listen to 80 as it's going to conflict with Let's Encrypt that already listens to 80.
Finally, you should just add a trusted proxy inside your config.yaml file as Home Assistant doesn't trust NGINX by default. You can see it in the logs
2026-05-18 00:13:48.682 ERROR (MainThread) [homeassistant.components.http.forwarded] Received X-Forwarded-For header from an untrusted proxy 172.30.33.2
Et voila. Everything worked flawlessly. The t520 didn't even break a sweat. Let's get quantum now.
Make it cursed
As soon as I started investigating, I realized that I'd either need to make my own HA plugin to use NGINX + liboqs, or to switch to Caddy, that directly works with PQC, killing all my fun. I'm going to make it PQC compliant but in a dedicated blogpost as there's more work than I anticipated.
First additions: BLE
You're reading a house automation blog, remember? We did talk about a lot of things but not a single time about automation. Let's fix this. I had to heat my credit card for the first time as I didn't find any BLE dongle with a good reach on Leboncoin, 10€ on amazon, ouch.
I already had 3 Switchbot meters home, and the integration was plug and play, first adding the dongle and then adding the 3 BLE sensors (+ misclicking a fourth one, probably from a neighbour).
After some maintenance dashboarding I noticed that the signal from my office's sensor was extremely weak, -96 dB, and the other ones were not incredible either (-75 dB and -69 dB.) It works on my app, but the signal quality concerns me.
Maybe my interference prophecy is already getting fulfilled, therefore I already have 3 hypotheses at the moment:
- The t520 is very close to the ground, and BLE doesn't like it.
- The BLE dongle is straight plugged on the USB 3.0 socket and USB 3.0 is interfering.
- The processor makes harmonics too.
Distance is paradoxically not one of my top suspects as my living room's sensor is 2 m away from the dongle and has a less than -75 dB signal, which is terrible for such a close range.
Believe me or not, I won't test any of these theories for the moment, as I don't have a Zigbee antenna yet, that happens to also be on the 2400 MHz range, so even if I fix the current BLE perturbation, I'm about to bring a new one to the system soon, and potentially to make my investigations a loss of time. All in all, I'll kill two birds with one stone at that moment. Also, Zigbee's LQI (link quality indicator) seems like a good metric to evaluate the quality of my signals, so the more data I have the better the experiments will be.
Conclusion
This blogpost will certainly not be the last one as I'm planning to automate heaters and blinds so there's a ton of things I still have to learn. However, as I didn't order the Zigbee switches and the Zigbee controller I'm stuck with a house with a lot of temperature sensors and nothing to act on them, so it's a good point to stop this post there.
Top of my mind
As a first conclusion, it works, and pretty well. The bet of using a 21,50€ bricked thin client still looks like a good idea at this state of my work. The budget will likely explode in the future as I'll have to buy brand new home automation chips, but right now we're drinking champagne on a beer budget.
| Thing | Price |
|---|---|
| t520 | 18€ |
| HP 7.4mm barrel charger | 2.50€ |
| RJ45 | 1€ |
| 3 BLE SwitchBot thermometers I already owned | free |
Aside from telemetry, the app runs smoothly on my phone, the t520 stays cool, RAM and Memory are fine and my first dashboard draft is very light but completely working.
Finally, I'll have to make my t520 able to start whenever electrically plugged. Forgot to turn on the feature when I was in the BIOS.
Home Assistant Apps recap
To achieve the current state, here are the Home Assistant apps and integrations that I installed.
- Nginx SSL Proxy
- Let's Encrypt
- File Editor
- SSH
- System Monitor
Last thoughts
In conclusion, what I thought was about to become an IT side project may become once again an RF experiment. Les habitudes ont la peau dure.